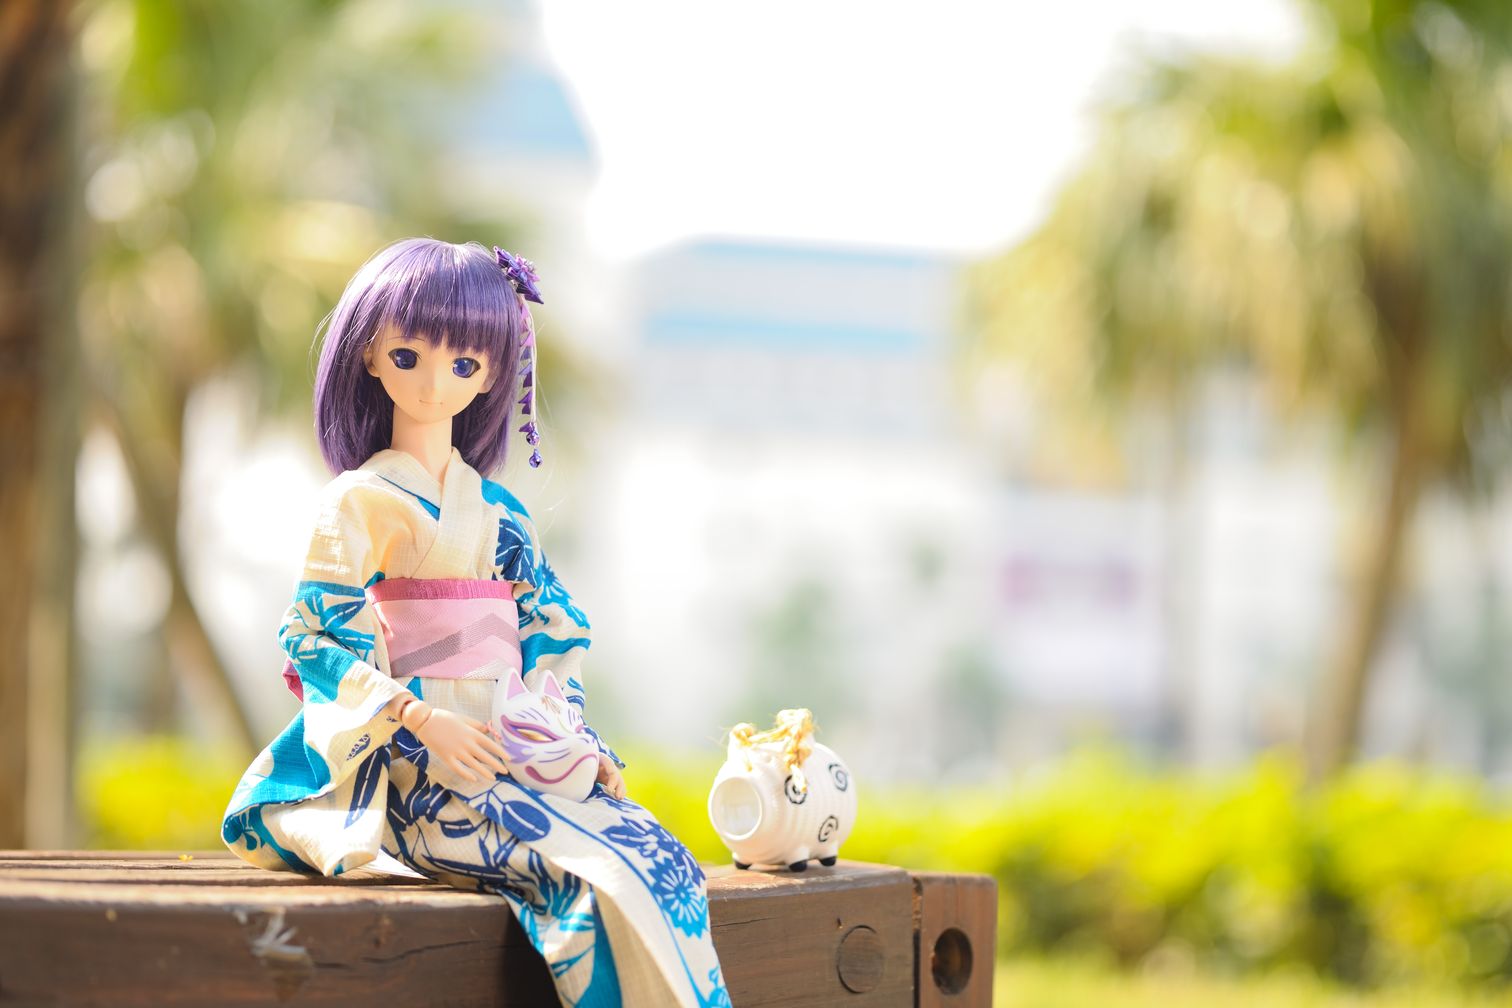
2018夏季浴衣
夏天穿著浴衣,和朋友聚會,感覺相當涼爽又可愛
Dollfie Dream BJD 攝影集

夏天穿著浴衣,和朋友聚會,感覺相當涼爽又可愛
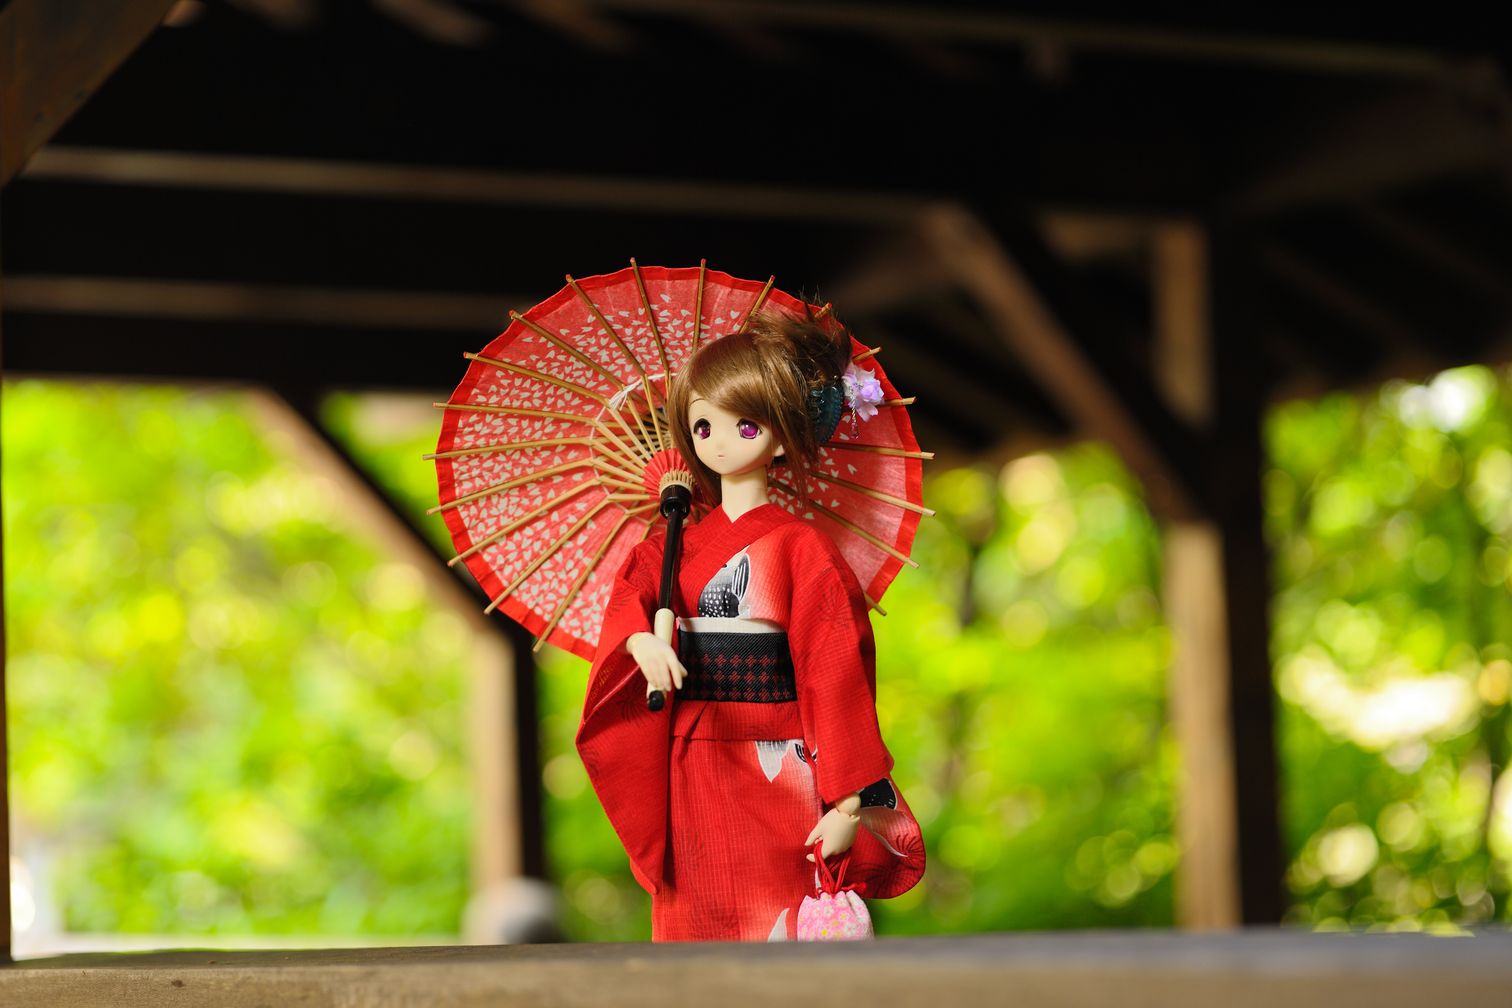
炎熱的夏天,穿上浴衣就感覺特別涼爽,來到北投溫泉區的古屋與河岸邊拍照感覺特別有古早味的風情 …
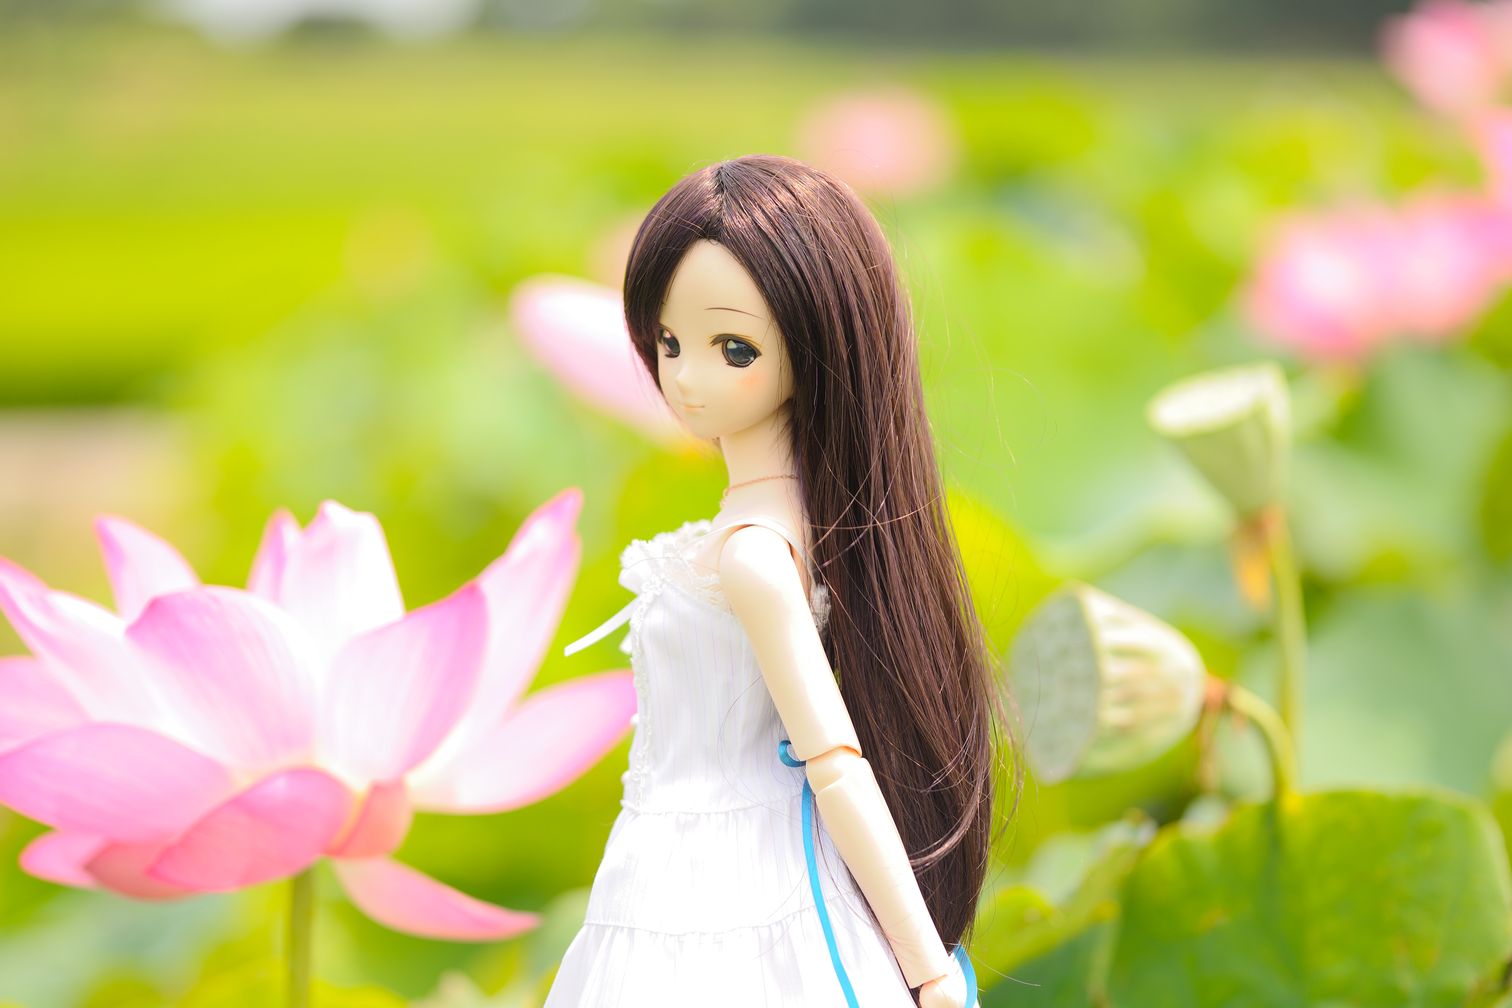
夏天穿著白色洋裝,看著荷花
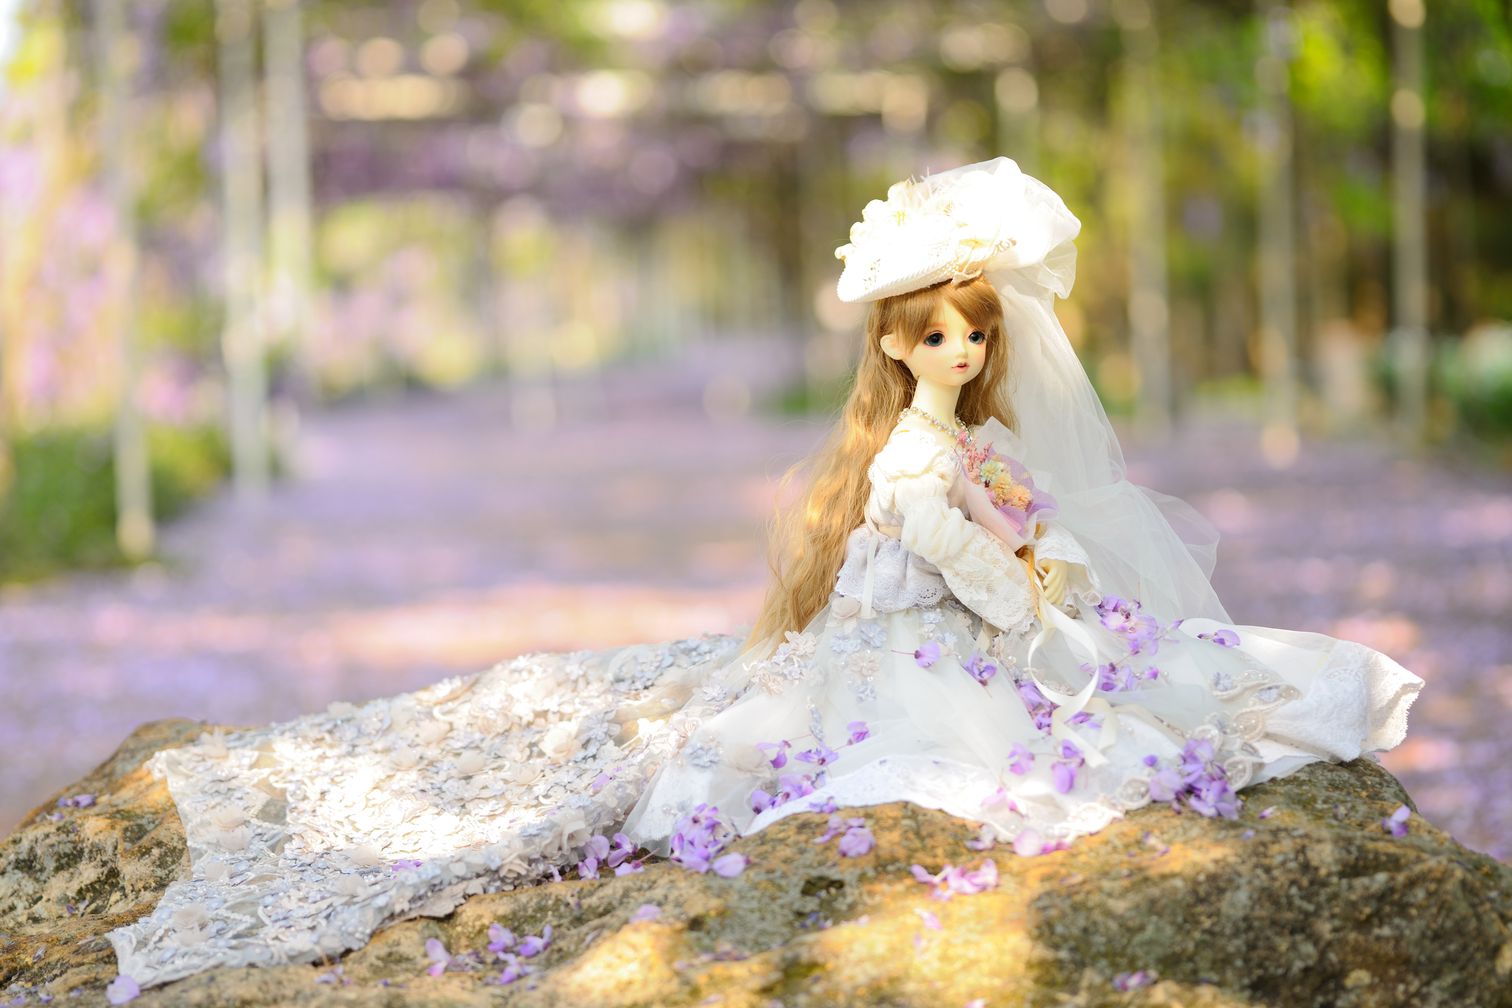
每年的三月中就是紫藤的季節,今年紫籐較往年稍晚開了,不過花況也比較好一些,リーゼロッテ穿的禮服也來賞紫藤,相當的漂亮呢,亜美則是坐下樹下休息,不知道要看紫藤還是亜美 …
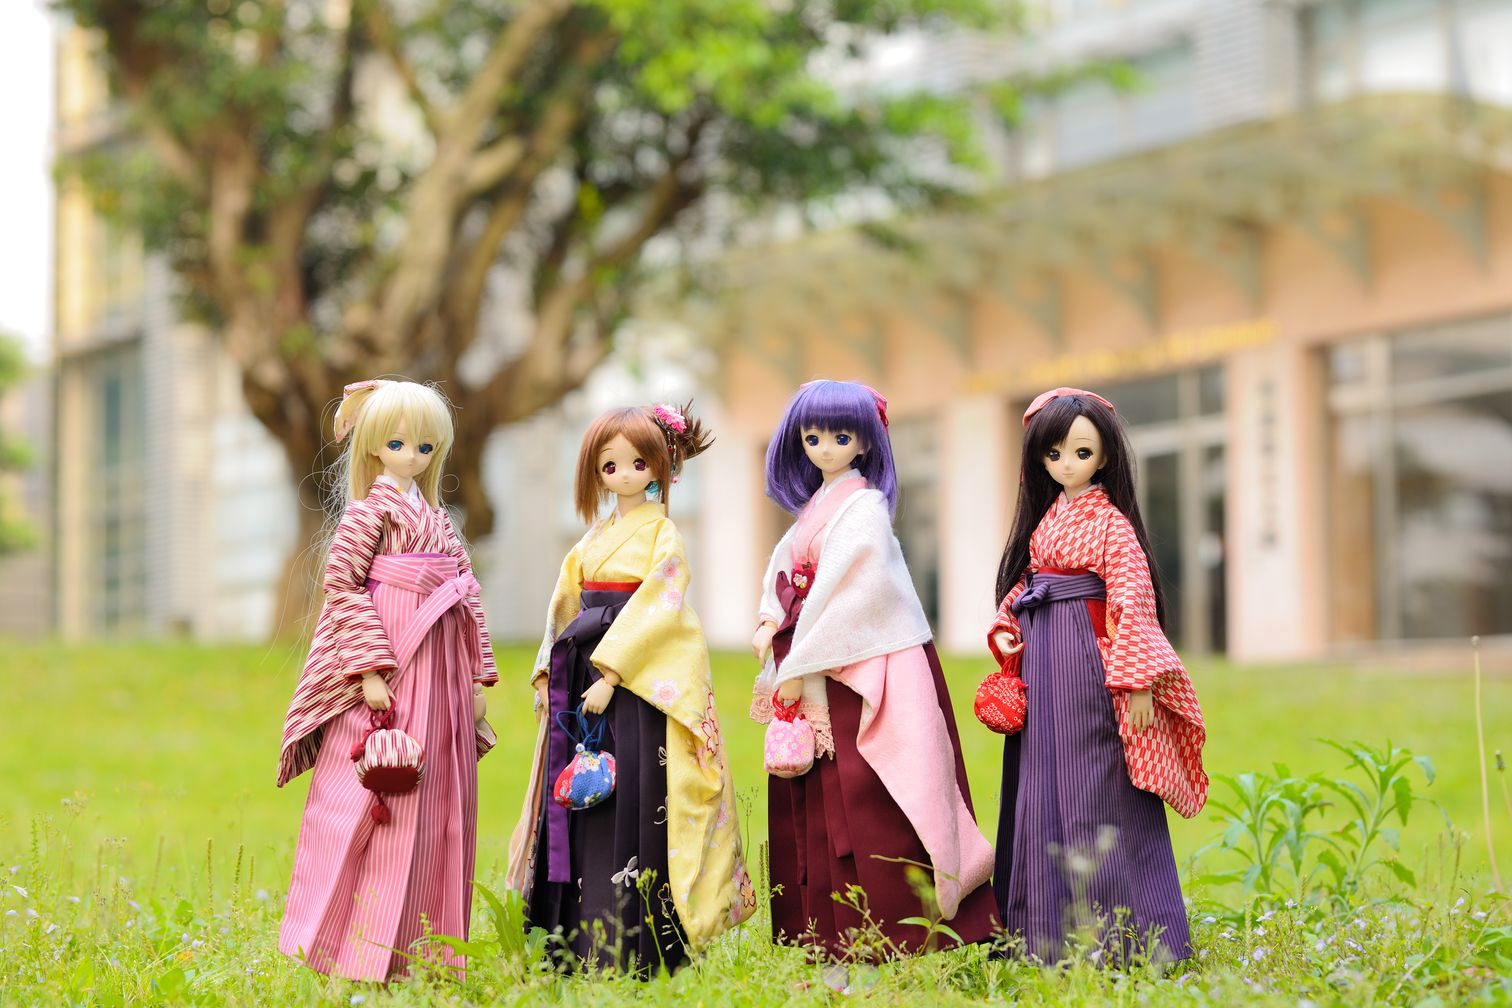
趁著櫻花季結束,大家都穿著袴時大家來拍合照,久寿川ささら、小牧愛佳、間桐桜、森川由綺四人組成的着物袴合拍,真的是漂亮又壯觀 …

每年到了聖誕節前後,百貨公司就會有燈海可以拍照,但是每年的燈海規模都越來越小,場地越來越難找了,今年リーゼロッテ穿的冬季大衣,和間桐桜穿著聖誕服來拍聖誕燈海,感覺特別有聖誕氣氛 …
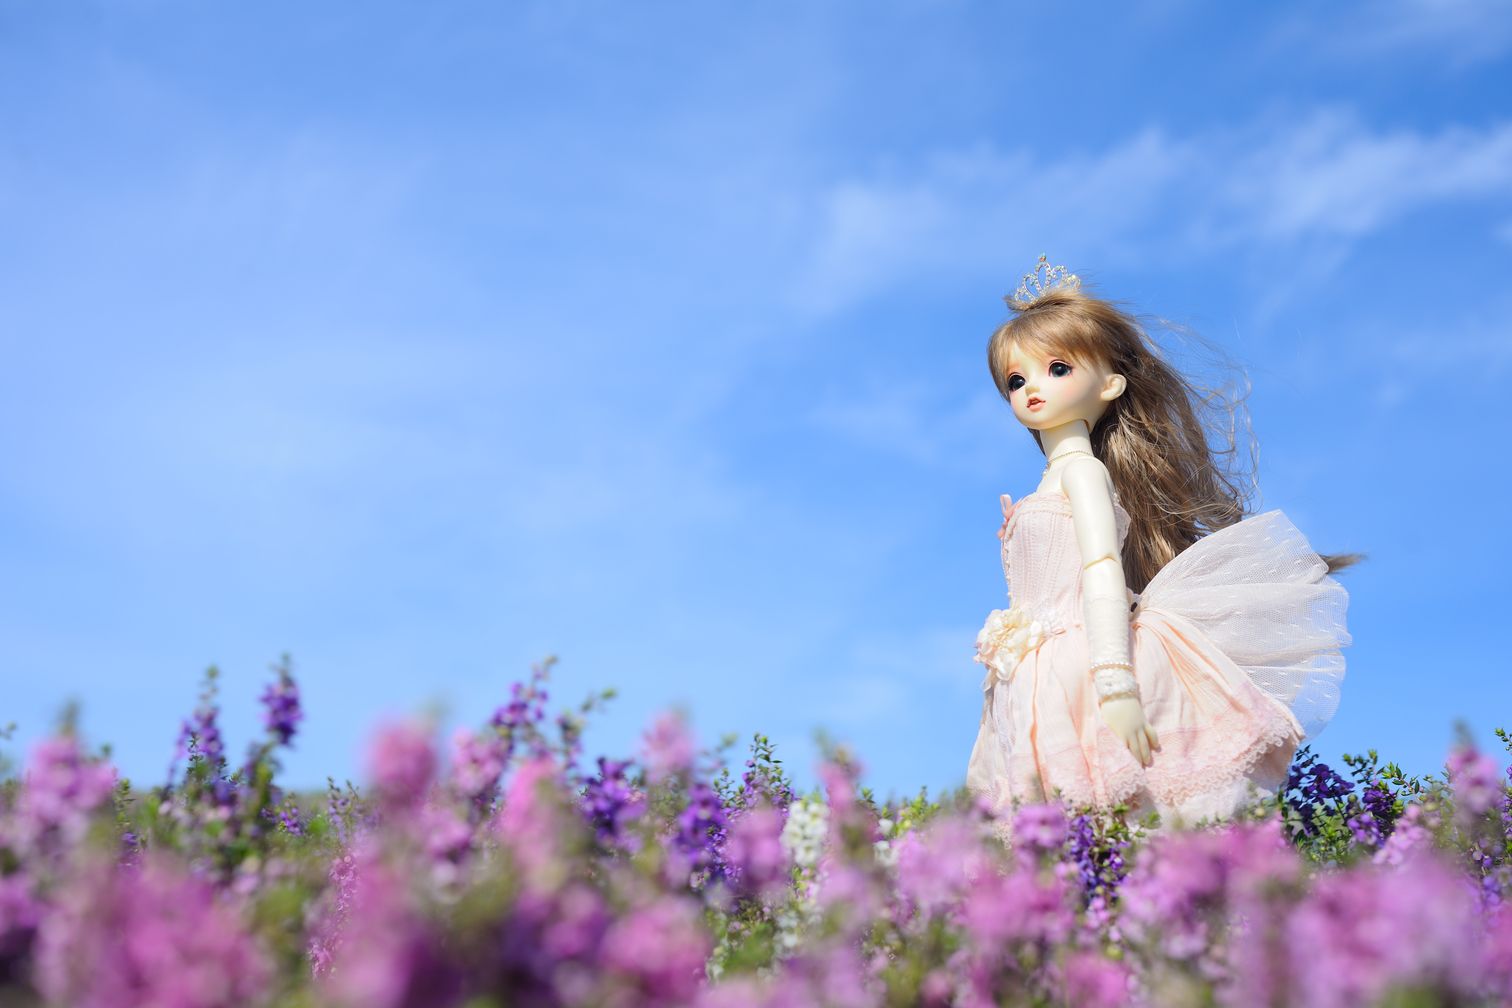
關渡花海這地方是市府在開發前堆置的土堆上最後的利用,之後就沒有這地點可以拍了,リーゼロッテ穿著馬甲套裝,配上來天與紫花,特別漂亮,久寿川ささら則是帶著弓箭到此練習 …
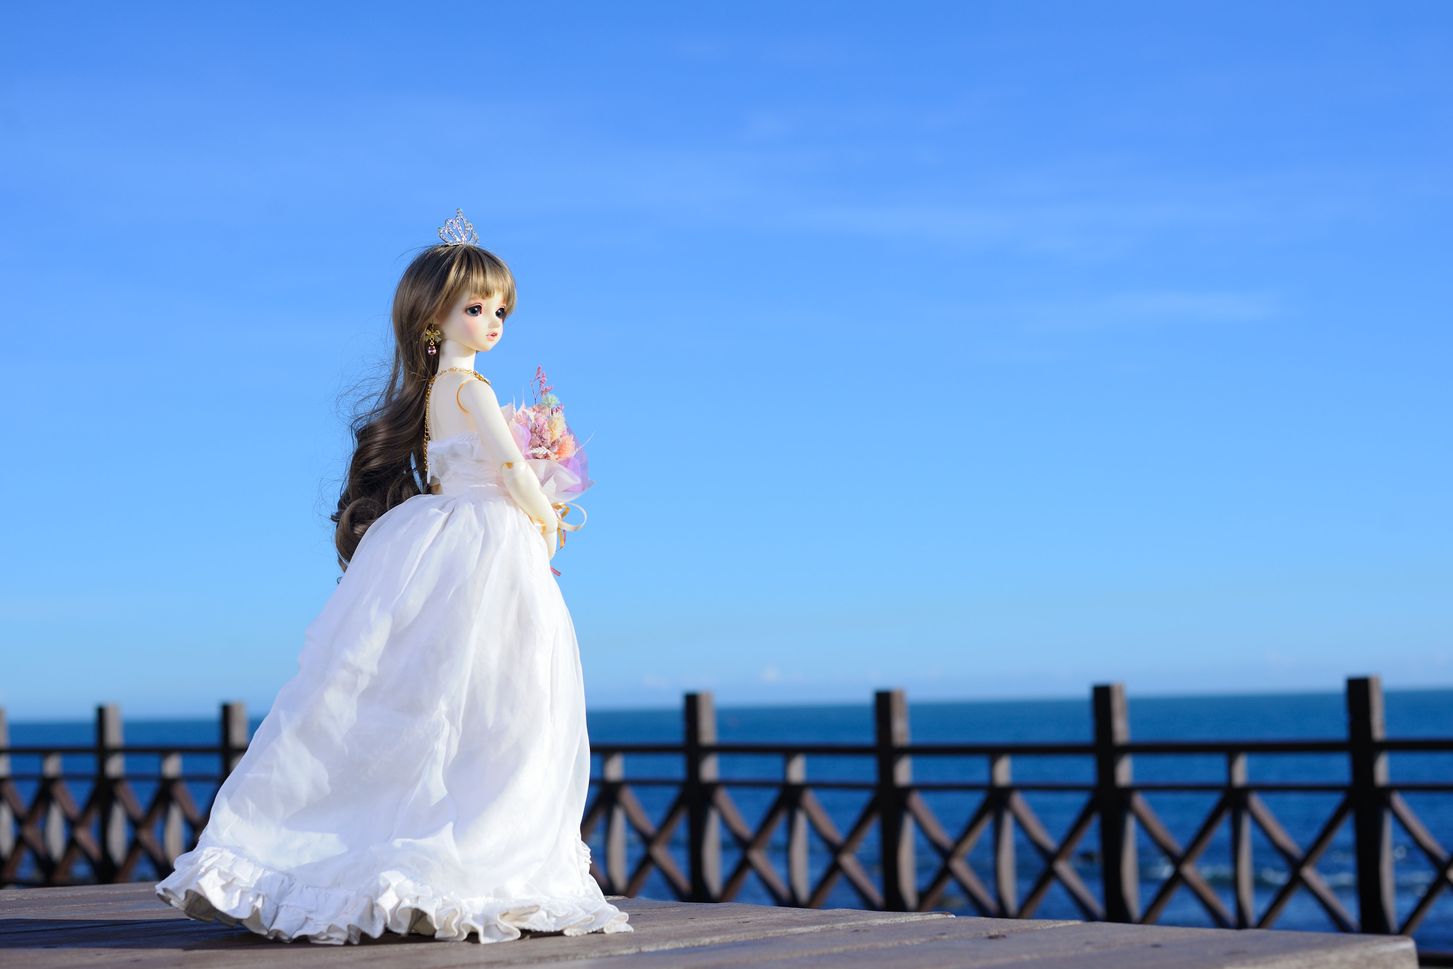
夏季到海邊看日出,可以暫時忘掉夏天的炎熱,リーゼロッテ穿著白色的ドレス,配上藍天與大海,真是美翻了 …
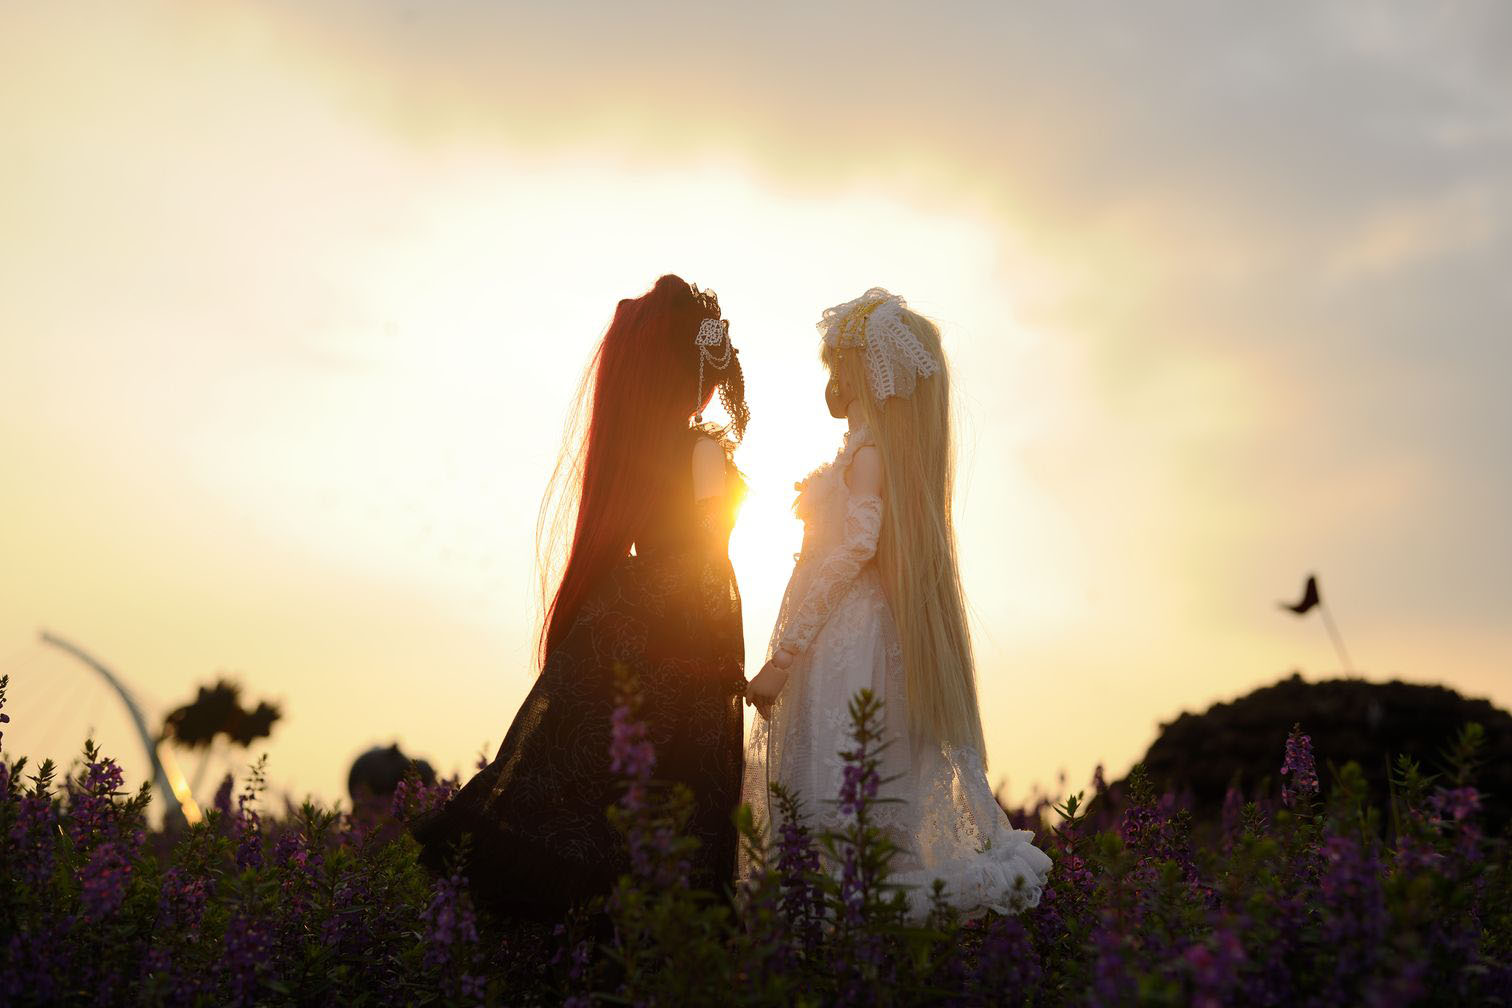
穿著白色禮服的久寿川ささら,和穿著黑色禮服的向坂環,兩大小姐在花海中散步 …